Time Needed: 1-2 hours, Difficulty: Intermediate, Cost: $50-$200
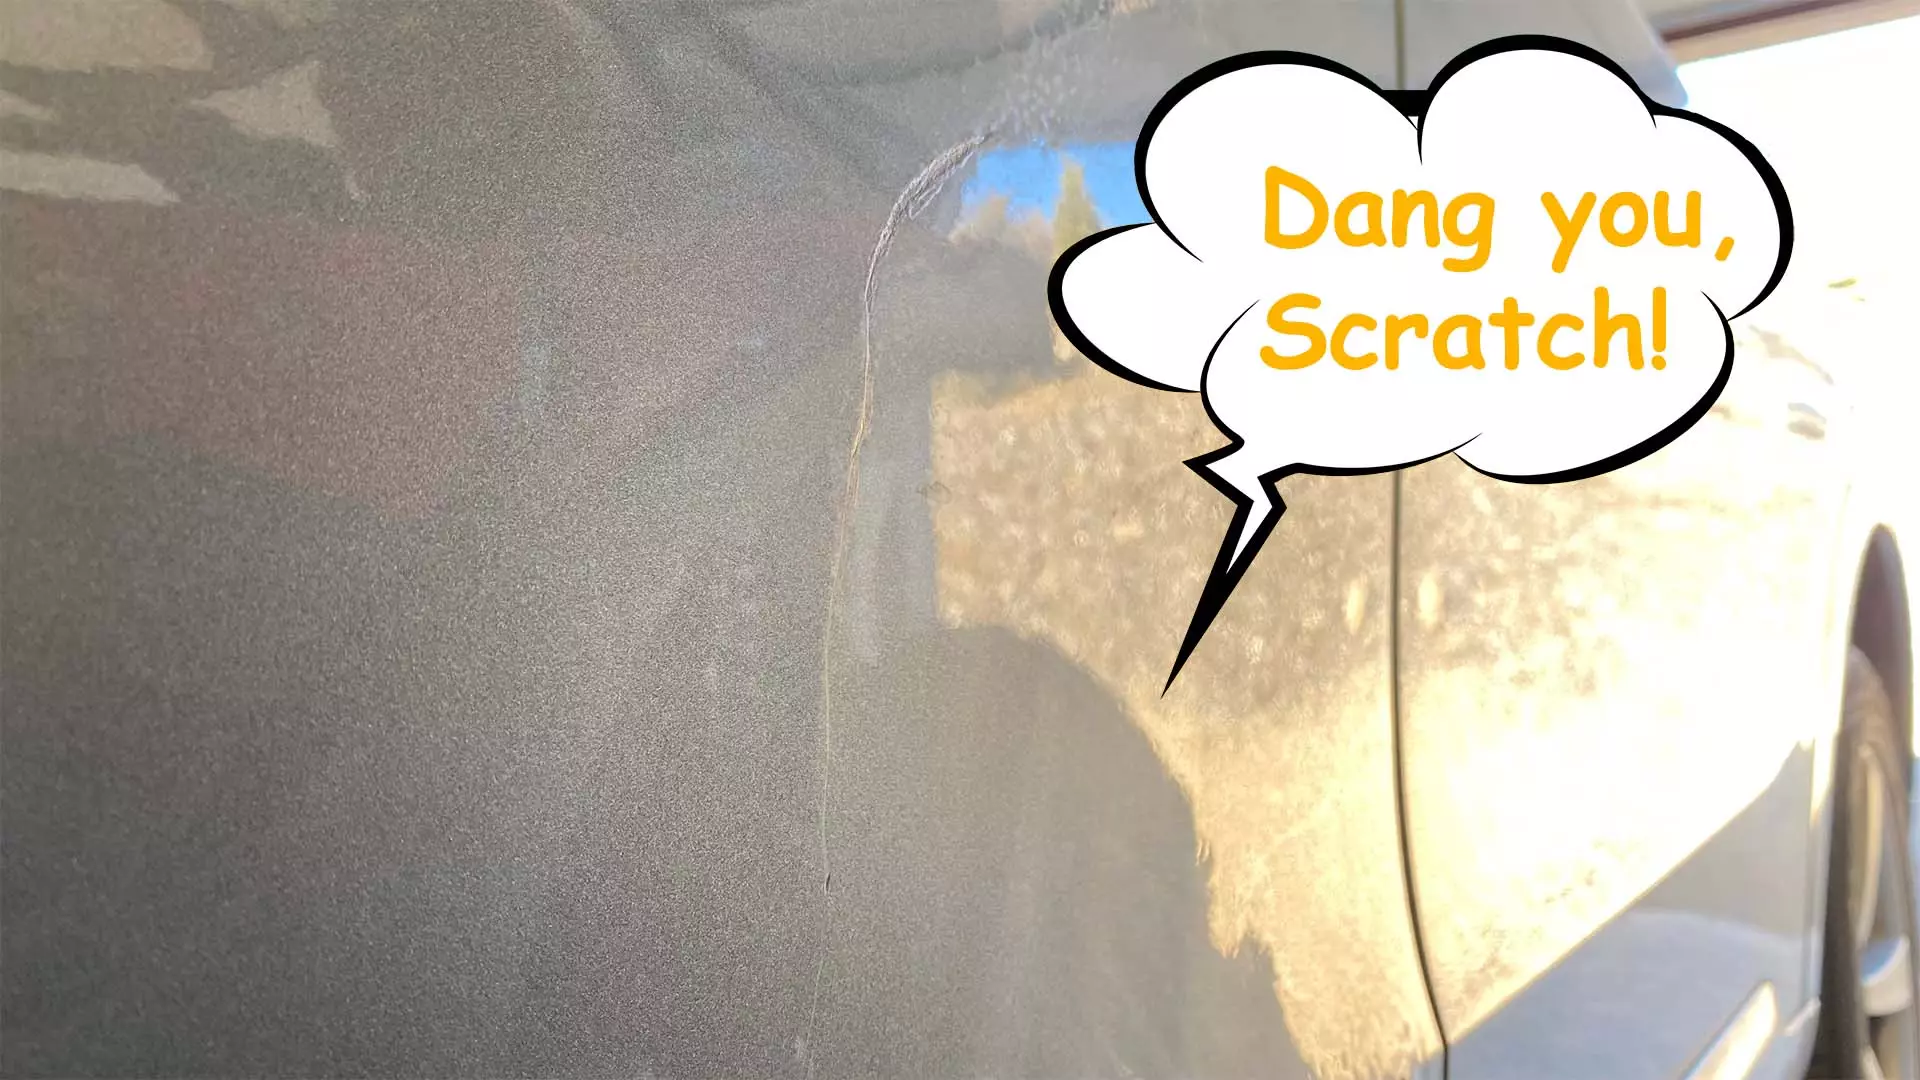
There it is, the bane of your existence. A scratch that ruins your otherwise perfect factory finish. Nobody else notices it, but you’re like me and the rest of Car Autance’ staff, you do. It pulls your gaze like some kind of twisted magnet and is the first thing you call out any time someone compliments your car. It’s even keeping you up at night, tossing and turning in a quasi fever dream.
So maybe it’s not that bad, at least according to other people, but a scratch can dig at your confidence as well as cause oxidation if left untreated. You know, rust. The good news is that very few scratches are beyond repair. In fact, that big, white scratch that goes away when wet is probably just some damage to the clear coat and nothing to get up in arms about. Guess what, you can probably fix it in your driveway.
Let’s show you how it’s done as Car Autance wants to give you some tips on how to make sure it’s something that doesn’t warrant a little more elbow grease, then dive into what it takes to buff out scratches on your own.
The Safety Brief
I’m not going to pretend like buffing out scratches is the most dangerous job you’ll ever do. There’s no need to go into panic mode overusing power tools because even they have soft edges here. Heck, even sanding is low risk as the water does a great job of keeping debris down.
Still, you’ll want to throw on some safety glasses and nitrile gloves. After all, the buffer can sling some polish right into your eye and you will be handling all kinds of cleaners. That said, if I’ve done it without taking a trip in an ambulance, you should be just fine buffing scratches in your driveway.
The Tools & Parts You Need
The entire process of buffing out scratches is relatively simple, but there are some special tools that you’ll need. First and foremost, you want a good soap to clean the vehicle’s surface. This is one of the times when dish soap is a perfect choice as it will remove any layers of wax or debris that can throw off your judgment or contaminate your work. And going over your work with a clay bar after cleaning also ensures nothing is left on the paint’s surface.
You’re also going to need some sandpaper that’s good for wet sanding. Sanding sponges are ideal, but any kind of wet sandpaper you have access to will do you will. You’ll also want to continuously apply soapy water while you sand, and a spray bottle is very handy to have around for the process.
Of course, this is a detailing job, so you’re also going to need to stock up on some microfibers. Whatever you use will surely be ruined by paint debris and polishing if you opt to do so manually. That means you don’t need to invest in the absolute best microfiber towels you can find, but you don’t want to go bottom of the barrel either.
Speaking of polish, you’ll want to stock up on your favorite. You can use whatever you prefer, but we do recommend working with a two or three-step system as it will do the best at removing the scuffs left behind by the wet sanding process. You’ll want to finish up with some wax. Whatever tickles your fancy will fly, but I do lean toward a thicker carnauba wax as it generally does the best of hiding any minor imperfections left behind by this procedure and leaves a hearty layer of protection.
To review:
- Random polisher kit with pads
- Spray bottle
- Soap
- Sandpaper designed for wet sanding
- Microfiber towels
- Polish
- Wax
The Task: How To Buff Out Scratches
Here’s how to buff out scratches.
1. Wash the vehicle.
The first thing you need to do is thoroughly clean and clay bar the vehicle. You don’t want dirt or gunk interfering with the following steps as they can hinder product performance and throw off your judgment. If you’re only fixing one scratch, you can clean the area of interest.
2. Assess the damage.
Before you go any further, you’ll want to get a good feel for the scratch and decide if it’s something you can fix without paint. As long as it’s just a clear coat scratch, you should be good to go. One trick to determine that is to see if it catches your fingernail. If it does, it can mean the damage goes down too deep for this method. You can use professional-grade tools to verify, but soap and water should suffice.
If the scratch disappears when it’s wet with soapy water, it is just a scratch in the clear coat, and you can proceed.
3. Make the call.
If the scratch goes too deep and needs paint correction, you need to decide whether you’re willing to go that far or if you should live with the damage. If you opt to fix it, you will need to use touch-up paint or take a more thorough approach, which I’m not discussing here.
4. Wet sand serious scratches.
Now’s the time to break out that 3,000-grit sandpaper and start squirming. You’re going to attack the scratch, sanding perpendicular to the direction it travels no more than an inch beyond either side of the scratch. Remember, this is a wet-sanding procedure, so you will want to apply plenty of soap and water as you work. Remember that the scratch will disappear as it gets wet, so you will want to stop and check your progress every so often. Take your time and continue to sand with light pressure until the scratch disappears.
5. Sand some more.
Once the scratch is no longer visible, you’ll be left with a terribly scuffed surface. The next step is to do some more set sanding. Break out the 5,000-grit paper and some more soapy water. Only instead of working in a back-and-forth motion, you’ll be sanding in circles to blend the scratches. You’ll want to continuously inspect and sand the area until an equal haze exists across the affected area with no signs of deep sanding marks.
6. Clean the area.
Up until now, I’ve been working with soapy water, which will keep the surface relatively clean. But before you move on to polishing, you’ll want to make sure there’s no debris from sanding left behind. Go over the area with more soapy water and a clean microfiber to make sure you’ve got a clean, scuffed surface to work with.
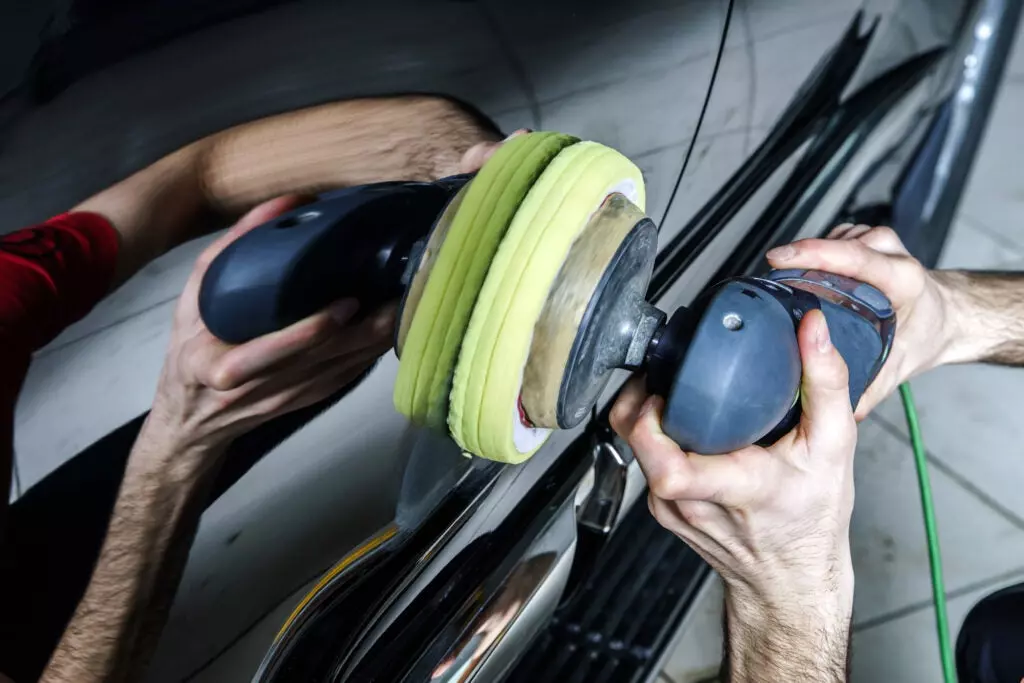
7. Apply the polish.
Once the scratch has been removed, you can move to polish the paint back to its original luster. How you polish this out does depend on the system or product you intend to use. The Chemical Guys TORQX Random Polisher Kit is a great choice, which has you work in two to three stages depending on the initial polishing step results. You can use whatever system you prefer and even polish the paint manually if you prefer.
Just remember that once you’re done with the sanded area, you’ll want to go over the rest of the paint to remove any light scratches or swirl marks that drag the sheen down. It’s a good idea to work over the entire vehicle in stages so you don’t risk going over the same areas later.
8. Wax and walk away.
Look at that, the car looks brand new again. All that’s left to do is apply the protective coating and move on with your life. You can use whatever product you like best, but many suggest using a high-build carnauba wax as it will produce the best results in this situation. If you’re unsure what you’re doing with wax, check out our guide, How To Wax a Car.
FAQs About Buffing Scratches
Car Autance answers all your burning questions.
Q. What kind of scratches can be buffed out?
A. Scratches in the clear coat are easy to buff out. Even if you have to do some wet sanding, you should be able to make the car look as good as new with little elbow grease. Scratches that go through the paint or down to the bare metal, on the other hand, will need paint correction.
Q. Are car scratches worth repairing?
A. It’s worth fixing scratches in most situations. So long as there’s enough paint to work with and the scratch doesn’t go too deep, you shouldn’t run into any issues. If, however, you’re dealing with an application that has a deep scratch in a rare color, you will want to seek advice from a professional.
Q. Can a body shop remove scratches?
A. Yes, a body shop can remove scratches. You should even consider calling them if the scratch is deep enough that it reaches the primer or bare metal. However, the cost of taking clear coat scratches to a body shop is going to be more than tackling it yourself. Keep in mind that there are detailers that do paint correction work as well.
Q. Can buffing damage car paint?
A. Yes, you can damage paint if you’re not careful. There’s technically no such thing as removing scratches with buffing. Instead, you’re bringing the surface down to match the lowest point of the scratch. You can go too far and damage or even remove the paint. This is why some car owners live with scratches when they know there’s only a thin layer of clear coat or paint on the car. Also, you should always avoid edges when buffing, as that’s where the thinnest layers of paint are.
Q. What’s better, polish or wax?
A. Neither. The term polishing is often used loosely and sometimes even in place of simply cleaning things up. Polish is an abrasive compound used to remove light scratches from a finish, whereas wax is applied to the surface to fill minor imperfections and offer a layer of protection.
Learn More From This Video Tutorial on Buffing Scratches
Running through the steps without someone showing you exactly how things are done is a bit rough. That’s why I wanted to toss in this video. It does a great job of explaining each of the steps, and I’m sure its 5-minute run time is all you need to get up and rolling with this. Just keep in mind that the host is using power tools for polishing, but you can use manual methods if that’s what you prefer!
Disclosure: Carbibles.com is also a participant in the Amazon Services LLC Associate Programs, an affiliate advertising program designed to provide a means for sites to earn advertising fees by advertising and linking to Amazon.com. Pages on this site may include affiliate links to Amazon and its affiliate sites on which the owner of this website will make a referral commission.