Time needed: 1 hour, Difficulty: Easy, Cost: About $40 for the kit, plus tools
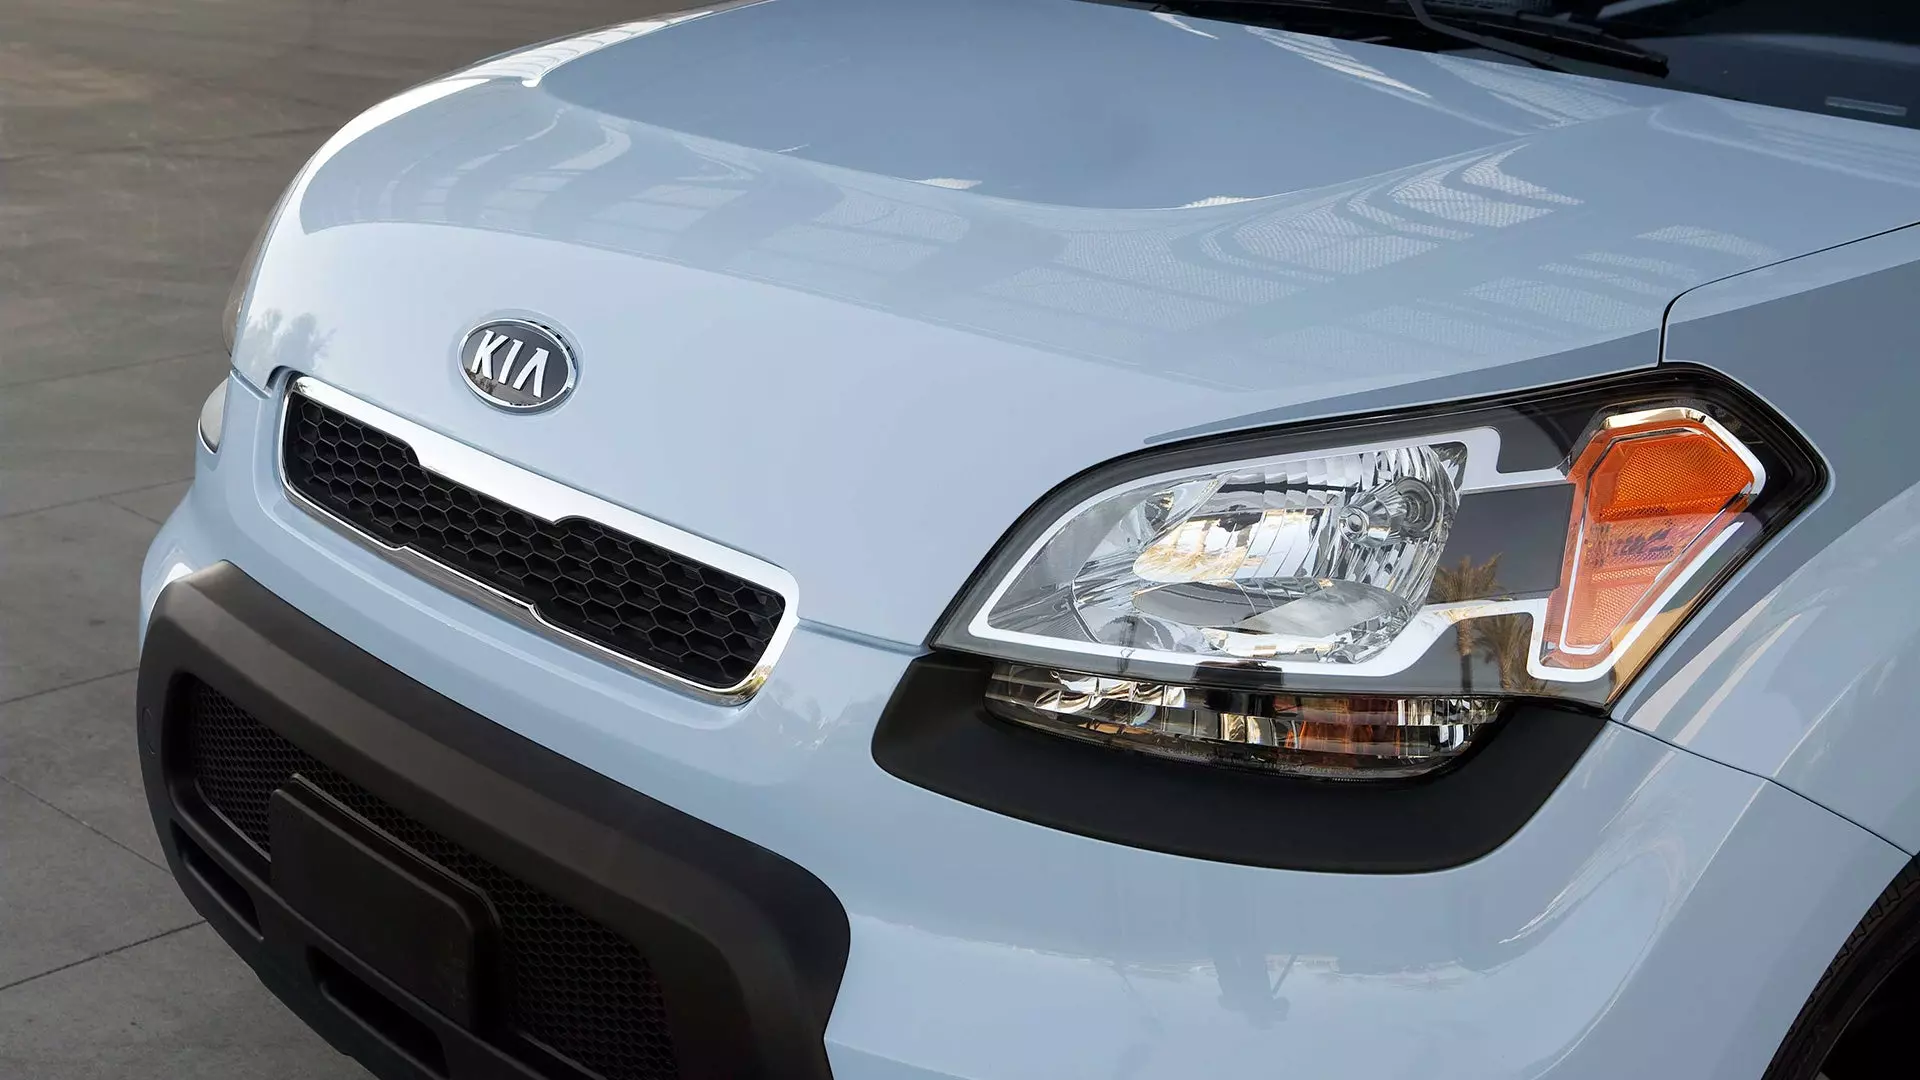
Plastic headlight lenses all suffer one ugly fate: yellow, foggy deterioration. It happens slowly until one day your precious hooptie looks particularly shabby and a pang of pity strikes you. This occurs because the sun and outside weathering wears down the coating on the headlights and starts to deteriorate the plastic.
Ugly headlights aren’t anybody’s fault or an indication of poor quality parts, but it’s a good reminder that it’s best to keep your car in a garage, or at least covered to some degree if possible. Don’t worry, though, because this is an easy fix that can be amazingly rewarding. Your car will go from looking old to showroom fresh.
Let’s get started.
The Safety Brief
Just to keep you and your various limbs safe, we recommend a basic safety kit for this job. Definitely get some gloves and some safety glasses. Since you will be sanding material away, work in open air or wear a mask to protect yourself, even if the dust isn’t particularly harmful.
The Tools & Parts You Need
The tools and parts list is also mercifully simple. Most headlight restoration or cleaning kits come with everything you need except for water, while some require some extra tools. At most, you will need a power drill, varying grades of sandpaper, a container full of water, wax and grease remover, and masking tape. Don’t forget to grab a restoration kit and this trip to the parts store will be short and cheap.
The Task: How To Restore Headlights
Follow these easy steps, and you and your car will be in the clear.
1. Park in a shaded area.
You will be working on the front of the car with some elbow grease, so park up somewhere shady and comfortable so you can work hard at the next step.
2. Mask any painted areas around the headlight.
You will be using abrasive sandpaper that can damage paint. Masking the area around the headlight is cheap insurance from damaging anything expensive and makes the job easier. Be sure to use tape that will not damage your paint.
3. Unpack your restoration kit and take stock.
Open your headlight restoration kit and figure out what you have and don’t have. You should have three different sandpaper grits, plastic polishing compound, an applicator pad for the compound, and some surface cleaner to prepare the headlight for sanding.
4. Clean the headlight of any wax, grease, or debris.
Use the cleaner provided in your kit or any wax and grease remover on a microfiber towel to vigorously clean the headlight before sanding.
5. Sand the headlight.
Begin sanding the headlight with the most coarse sandpaper. Most kits will require the sanding to be done wet, so wet the headlight down before sanding if the kit calls for it. Sand in the direction specified by the kit, usually horizontal, until the entire headlight is sanded. Move onto the next finer grade of sandpaper, then the next until the headlight is smooth with the finest sandpaper. If done well, the headlight will go from yellow to the original plastic color.
6. Clean the headlight again and prep for polishing.
Use the wax and grease remover to clean the headlight before you polish it clear. Avoid using the same towel or same area of the towel that you used in previous steps.
7. Apply polish to the applicator pad and polish headlight.
Apply the polishing compound evenly across the applicator pad. Using either a hand polisher or power drill, place the pad with compound onto the headlight and spread the compound slightly before polishing. If using a drill, use even motions across the headlight until the headlight is fully clear. If using a hand applicator, work back and forth vigorously until the headlight is clear.
8. Repeat, clean and remove masking tape.
Once both headlights are clear and de-yellowed, remove the masking tape and clean the headlights and the surrounding area one final time with wax and grease remover.
9. Apply UV protectant and finish.
After the process of sanding and polishing the headlights, they will have no protection. Most kits will come with a UV protectant. Apply that evenly across the headlights like wax, following the curing procedure in the directions (times might vary).
And that’s iti. Step back and enjoy your fresh-looking headlights.
FAQs About Headlight Restoration
Based on search data from popular engines and our own experience, we’ve collected a few popular questions about headlights and how to restore them. Find the answers below!
Q. Can all headlights be saved?
A. Unfortunately, no. Sometimes, they will be too far gone and can require replacement.
Q. Can I replace my lenses?
A. Yes, but it requires a lot more time and effort and is a totally different process. It will also be significantly more expensive to replace the entire housing.
Q. How long will headlight cleaning last?
A. It should last about one year. Even the best kits won’t have the lifespan of factory headlight lenses. That might sound like a pain, but just consider it part of your spring cleaning routine and general maintenance. If you don’t keep up with it, the headlight might be ruined beyond the point of repair.
Learn More From This Helpful Video Tutorial
Some of us learn better with some visual help. In honor of our visual learners, we have an excellent video from detailer extraordinaire Larry Kosilla on restoring headlights. He is one of the premiere detailers in the United States and can be trusted with any project.
Disclosure: Carbibles.com is also a participant in the Amazon Services LLC Associate Programs, an affiliate advertising program designed to provide a means for sites to earn advertising fees by advertising and linking to Amazon.com. Pages on this site may include affiliate links to Amazon and its affiliate sites on which the owner of this website will make a referral commission.
