
Car batteries don't just die. Well, they will if you leave them for long enough. but not just over the course of a few hours or even just a day or two. Finding your car has a dead battery after it was parked, despite running just fine, means you've got a broken something or another, if not a switch left on that you didn't even know was there.
In any case, the problem is that something is drawing power from the battery when it's not supposed to. There are a million reasons why that might be, and a parasitic draw test is a good way to determine where the problem is, allowing you to efficiently close in on a solution. You will need to do some detective work along with it, but it’s still an effective troubleshooting method you can use to sort out many electrical woes.
Here’s how you do it.
Electrical Troubleshooting Safety
Parasitic draw tests don't involve big, toothy tools or blow torches. They do require you to work with a live electrical circuit, though. There is a chance of getting shocked or causing electrical shorts. Being careful is a way to avoid these risks. Also, throw on some gloves and eye protection, as the soft stuff will be exposed to sharp edges, corroded terminals, and all kinds of debris hidden in weird places.
Everything You’ll Need To Test for Parasitic Draw
For basic parasitic draw tests, you only need a few items. A multimeter that can take readings of up to 10 DC amps is a must, more is better, but going less may result in damaging your meter. That multimeter must also be able to read milliamps, as we will likely be tracking down really small draws of power. You’ll also need pliers or a fuse puller, wrenches, small clamps or alligator clamp test leads, and possibly some tape are most of the load out. However, you will see that some steps require you to get creative or will require more tools for further investigation. What you will need depends on the application and the locations you're working in, and it's up to you to determine what tools are required for those steps.
That said, newer cars are absolutely packed with complicated electrical systems. There's no shame in taking them to a professional who thoroughly understands newer models and their nuances. They can work more proficiently, which is well worth the investment if you're not familiar with electrical systems at all.
Tool List
Here’s How To Test for Parasitic Loss
How to Locate the Trouble Circuit
1. Check Trouble Codes
Before you dig in, do yourself a favor and check the trouble codes with an OBD scanner. A faulty component that's to blame for your parasitic draw just might throw a code, allowing you to bypass all this work. If you have a trouble code, address the issue, clear the code, and test for draw to verify whether or not that issue was to blame. It’s also wise to test the health of your alternator as trouble there will drain the battery.
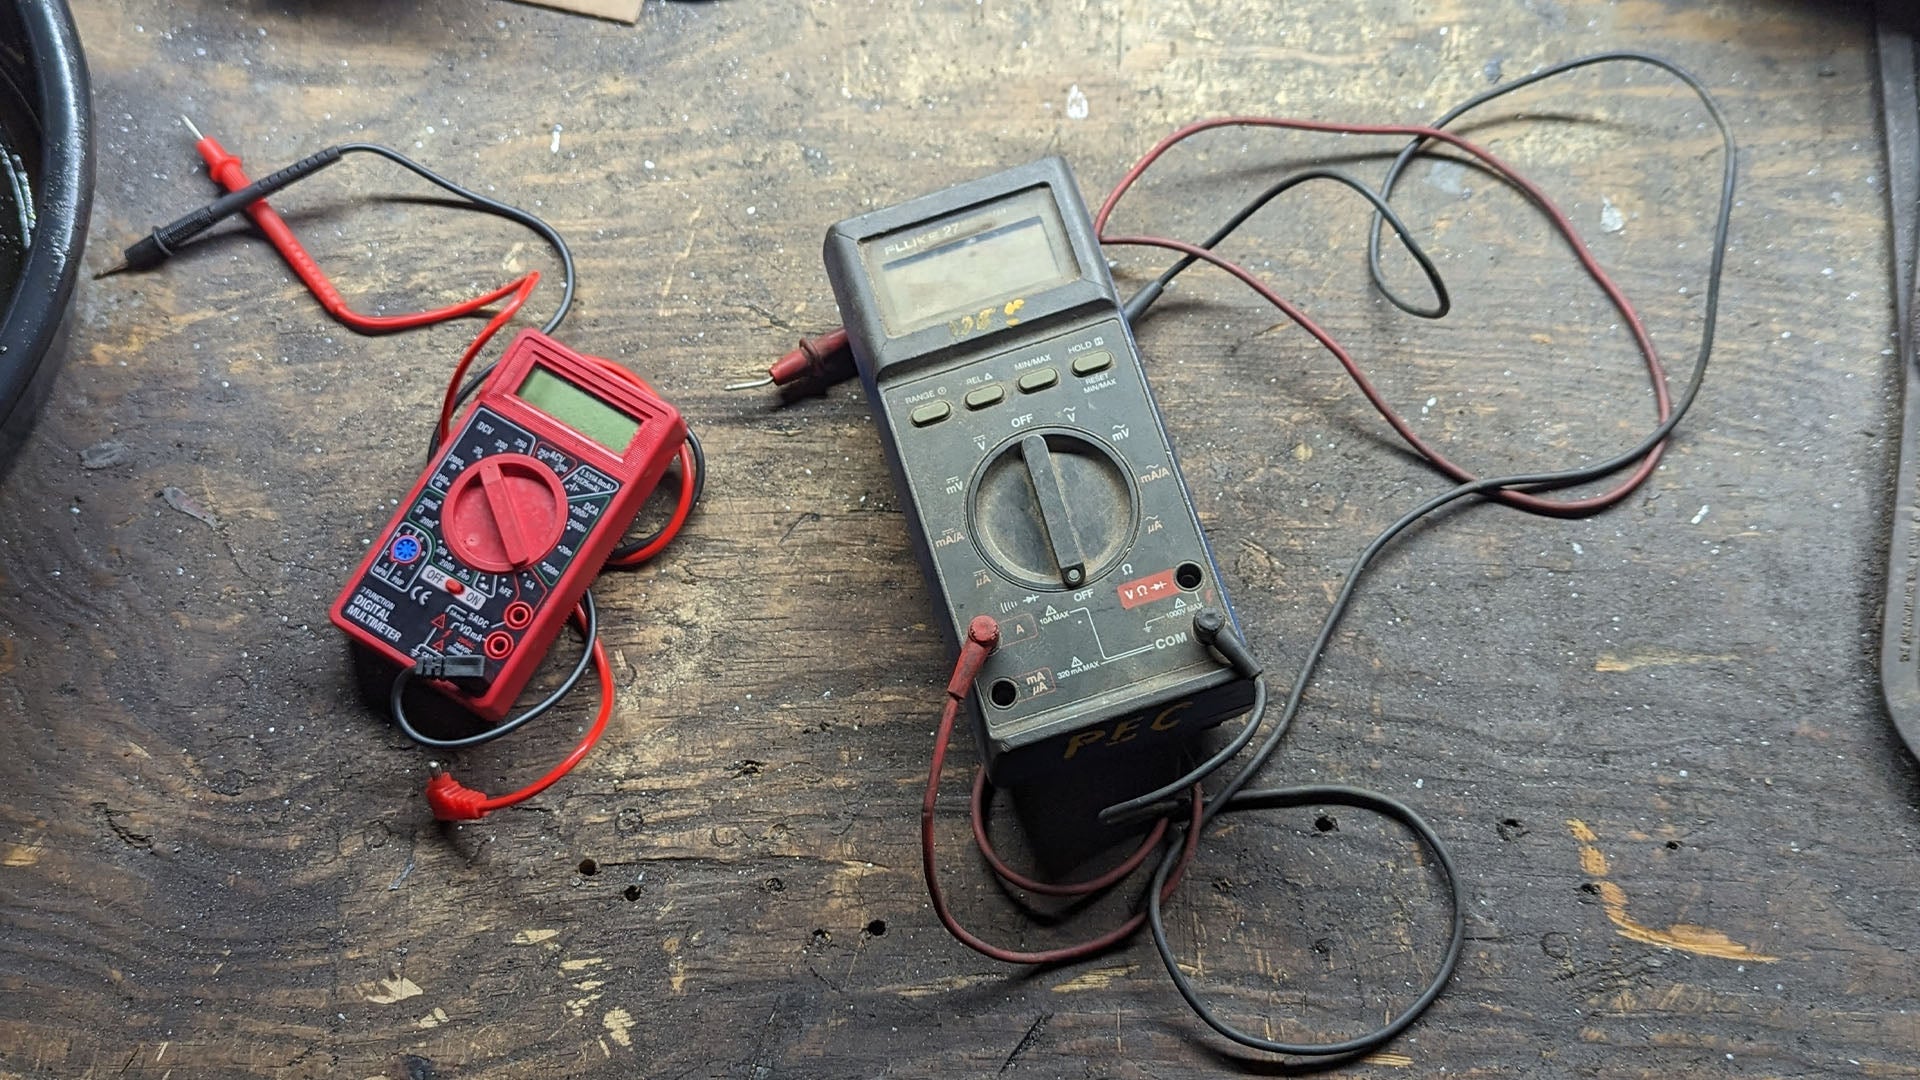
2. Set Up the Meter
For this test, we will need to move our multimeter’s test leads to the appropriate ports for testing amps. If yours features separate ports for amps and milliamps, start with the leads in the port for amps and work your way down if necessary to protect the meter. After that, set the multimeter to the proper setting for testing amps. Again, your meter might have multiple ranges, and starting higher is better.
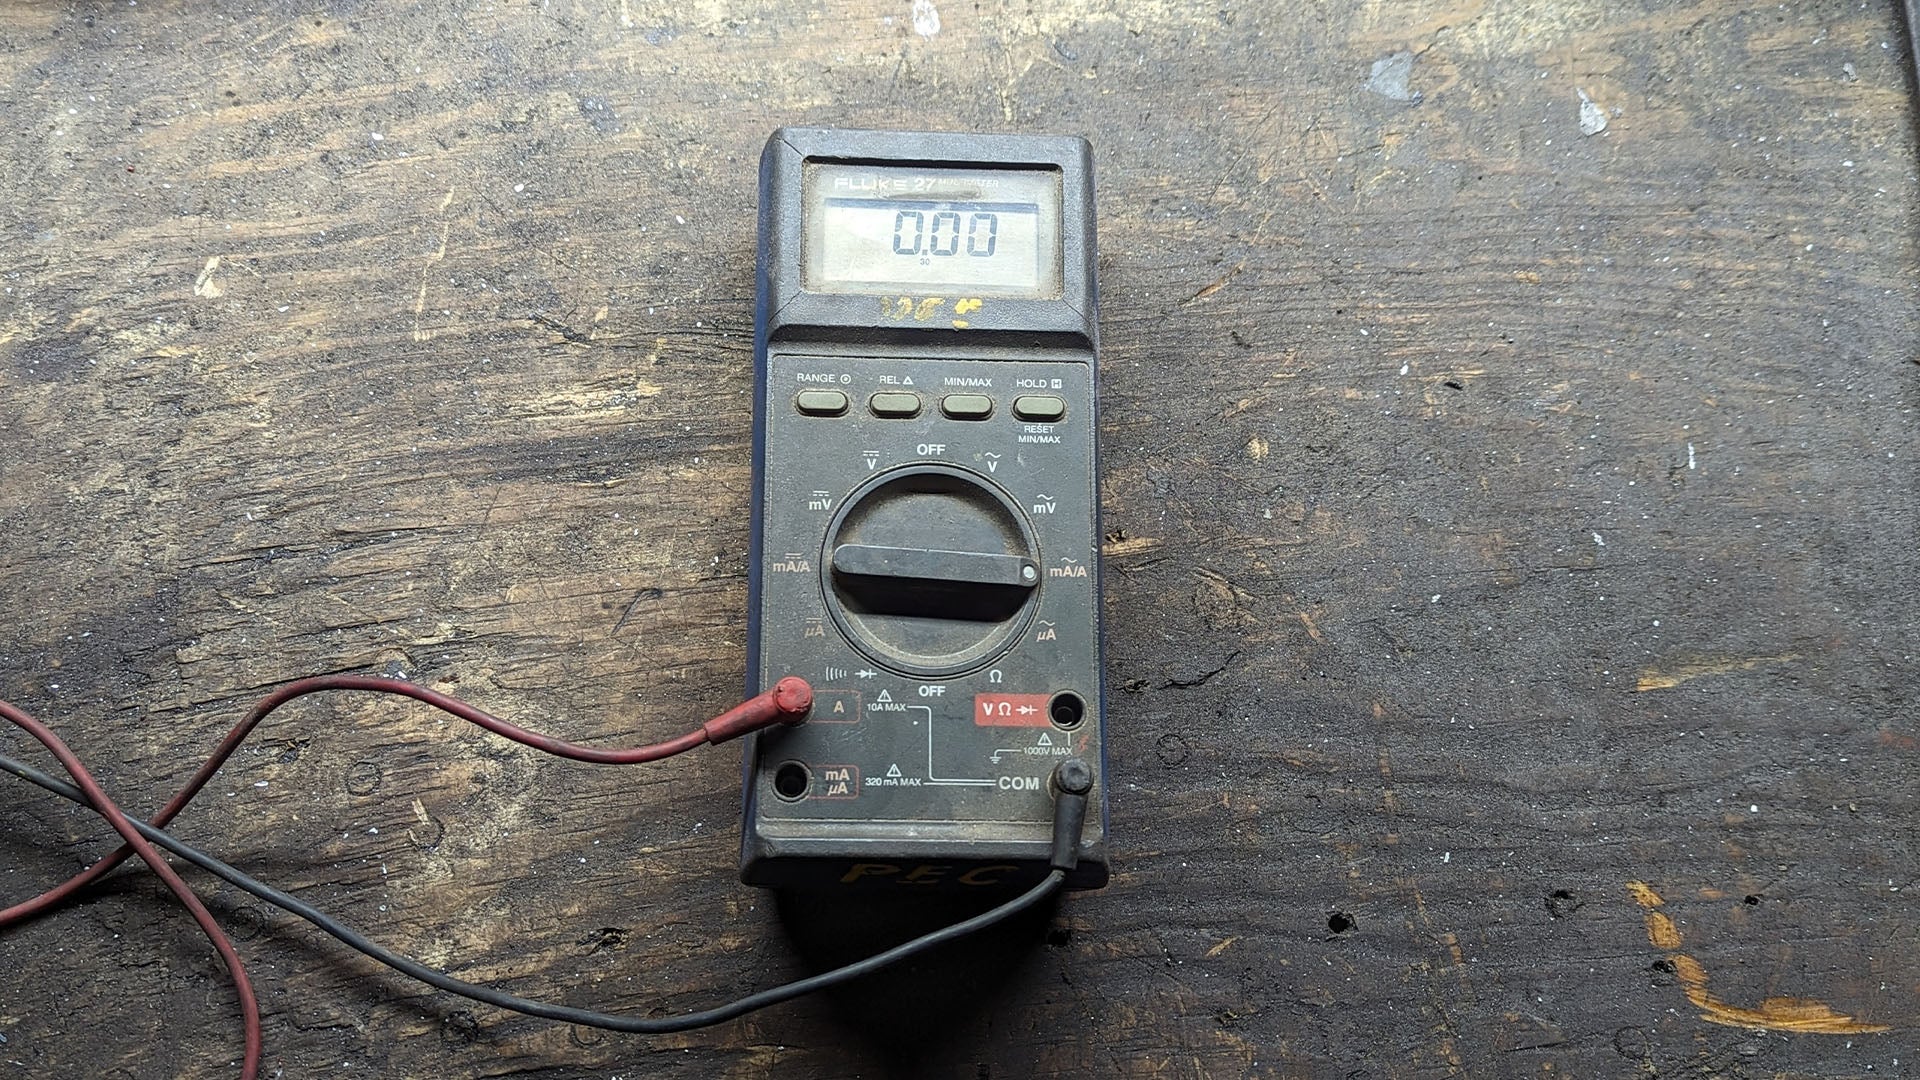
3. Conduct Initial Test
Pop the hood and get in position. If the hood is equipped with a lamp, make sure to rig the pressure switch or pull the bulb to keep it from interfering with your test. Next, disconnect the negative cable, probe the negative terminal and the cable, and read the multimeter. In this test, your multimeter is effectively completing the circuit by linking the battery to the car. If your multimeter displays a reading greater than roughly 50 milliamps, you have confirmed that a parasitic draw is present.
4. Locate Fuse Block Under Hood
Now that we know a draw is present, the next step is to find out where it is. Start by locating the fuse block under the hood.
5. Clamp Probes in Place
You'll need to free yourself from the multimeter and battery at this point. If you don't have a helper, you can use alligator clamps to hold your leads in place, or clamp-type leads to keep them in place, then position the multimeter, so it's easily visible from the fuse box.
6. Pull Fuses
Once you're in position, begin pulling fuses and replacing them one by one while you watch the multimeter. If the amperage drops when a fuse is pulled, you've narrowed in on the circuit that's giving you problems.
7. Disconnect and Locate the Next Fuse Block
Chances are that the problem won't be linked to the first fuse box you test. If that is the case, you simply move to the next. Be sure to disconnect the multimeter from the battery before doing so, as you can damage the meter by opening and closing doors while it's hooked up. Lights coming on draw amps from the battery, and the sudden load puts your equipment at risk.
8. Put the Car to Sleep/Depress the Light Switches
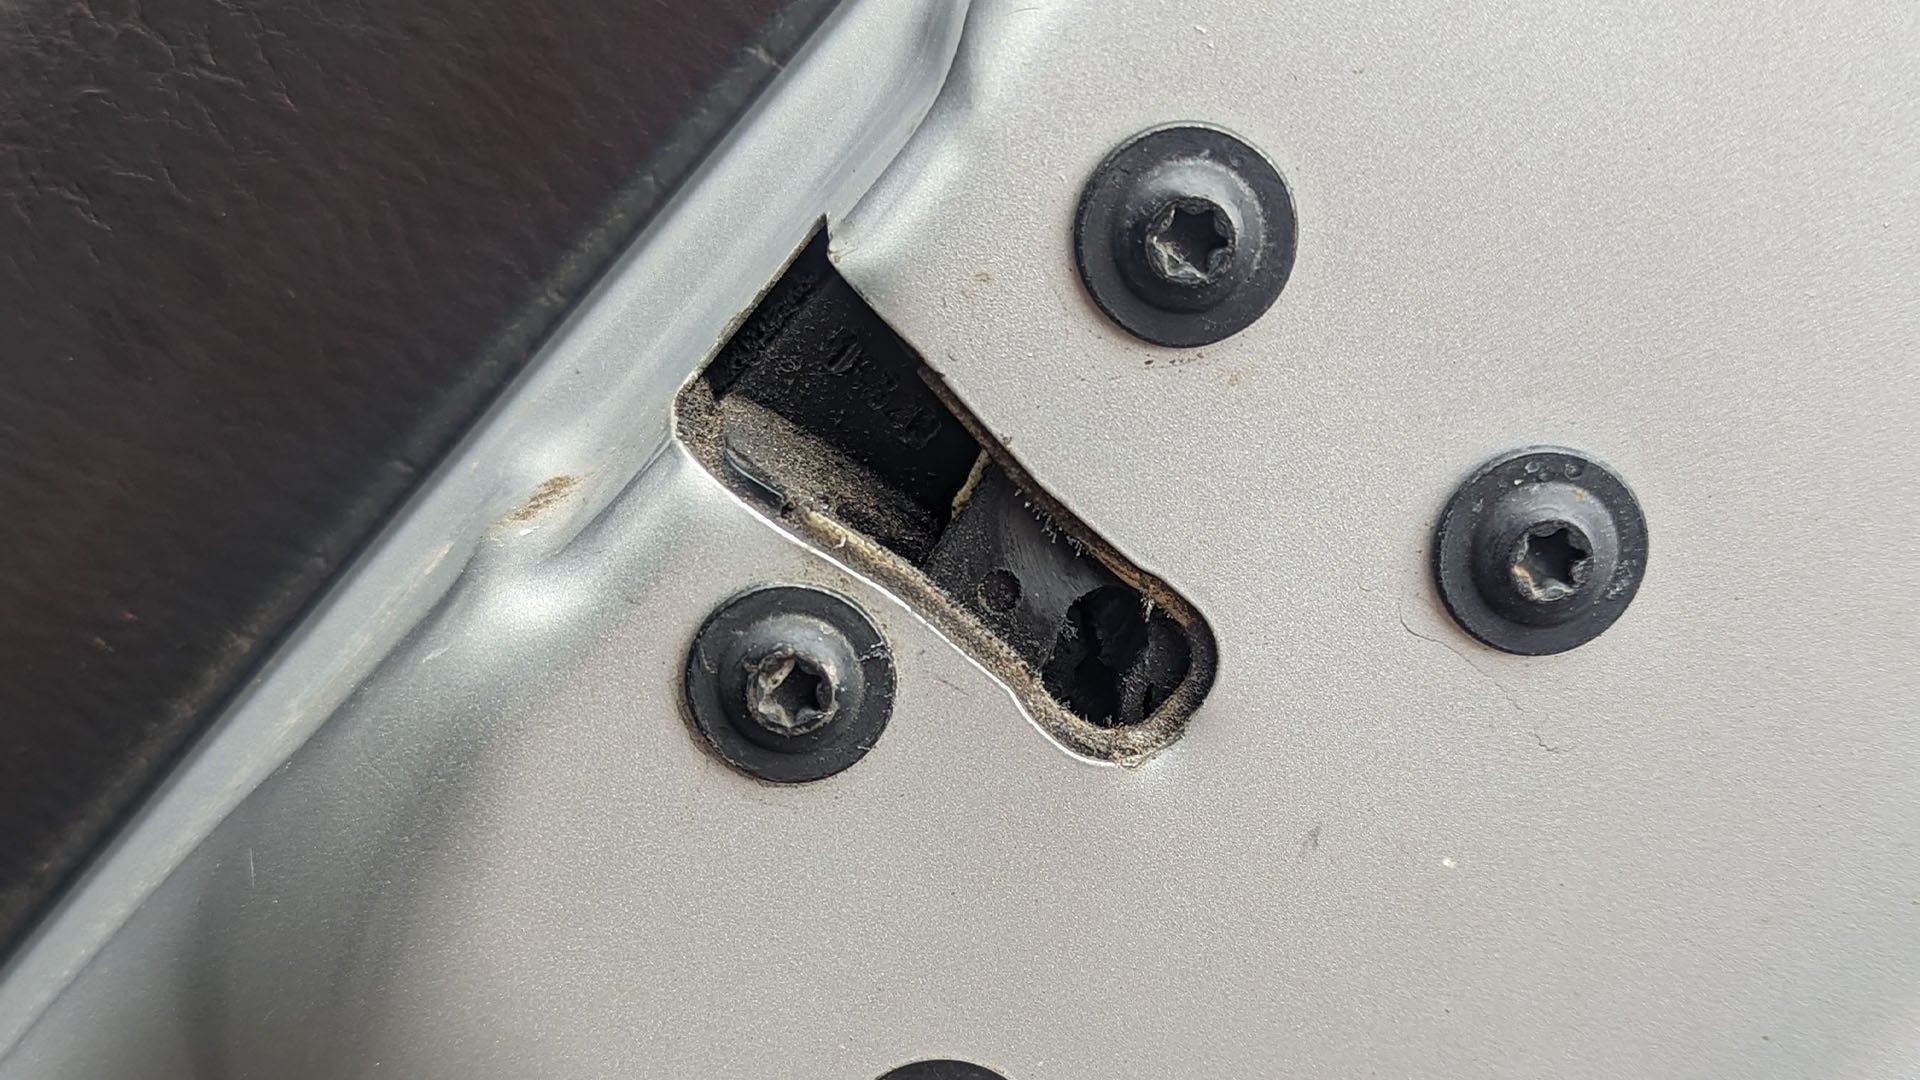
On older cars, you can simply open the door and use a clamp or tape to keep the pressure switch depressed, so lights don't come on. Newer cars aren't as simple. You may need to open all of the doors and switch the latches to the closed position, then electronically lock the doors to put the car to sleep before proceeding.
9. Repeat Until Impacted Circuit is Located
After figuring out your door/light situation, continue pulling fuses until you've found the trouble circuit.
How to Pinpoint Source of Draw
1. Grab the Diagram
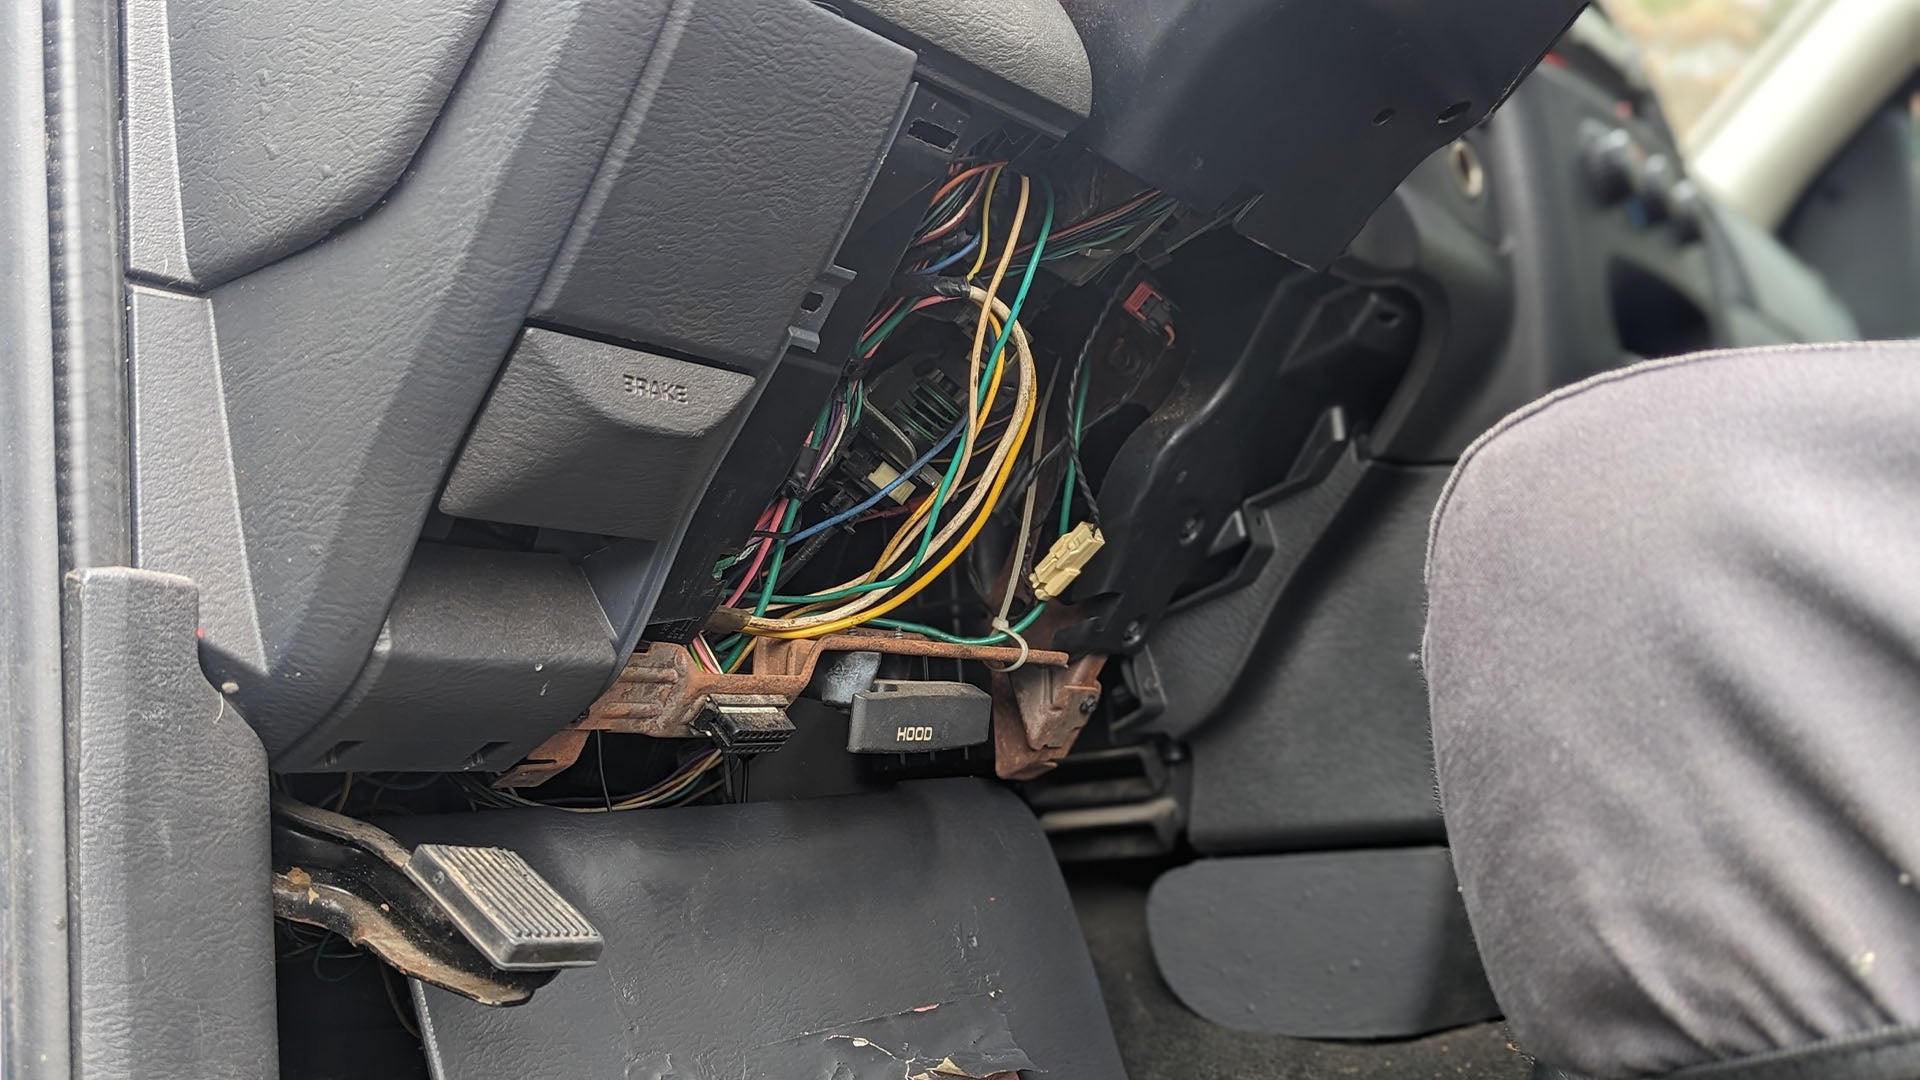
Once you know which circuit is host to the draw, you need to get an idea of what components are connected to it. Now, the fuse panel might say a specific component is linked to it, but that often only tells a part of the story. You need to get a wiring diagram of that circuit to really get an idea of what is connected to it.
2. Step back and Assess the Situation
Take a look at the components that are a part of the circuit in question and look for any obvious problems. If there's a draw, there's a chance that there are other clues that will help you pinpoint the issue. The problem might be as simple as a switch being left on, or something failing to function properly, if at all. There may even be signs of damage that weren't immediately obvious before that may have impacted electrical components. Be thorough and try some basic testing before you move on, as anything you find now will serve as an excellent starting point in the next tests.
3. Test Suspect Components and Watch Meter
If you've found something you suspect to be the problem, the next step is to essentially repeat the fuse test by cutting power to the questionable components and watching the meter. The only difference is that this can be much more involved as you need to disconnect the specific part in question. You will need to gut things and probably have to bounce all over the car to get readings between tests, and this can get frustrating.
After finding the part linked to the draw, you shouldn't just immediately replace it. Do yourself a favor and dig a little deeper. Take a look around and see if there's anything that may cause it to malfunction. It might be the part itself or something it's linked to. That could mean there's damage somewhere else or a problem in the system you need to address. Doing that little extra digging will mean you perform the right repairs now, so you don't have to tear everything apart again later.
Video
Parasitic draw tests are simple in theory, but there's a lot going on. Therefore, a single how-to is only going to take you so far. Luckily, there's no shortage of folks exploring the topic. I've attached this particular video for two reasons. First and foremost, it does an excellent job covering the basic steps involved. Secondly, and most importantly, the host applies his real-world understanding of these systems that help him locate the source of the problem. This shows just how helpful proper detective work is when tracking down hidden electrical issues.
The Drive and its partners may earn a commission if you purchase a product through one of our links. Read more.