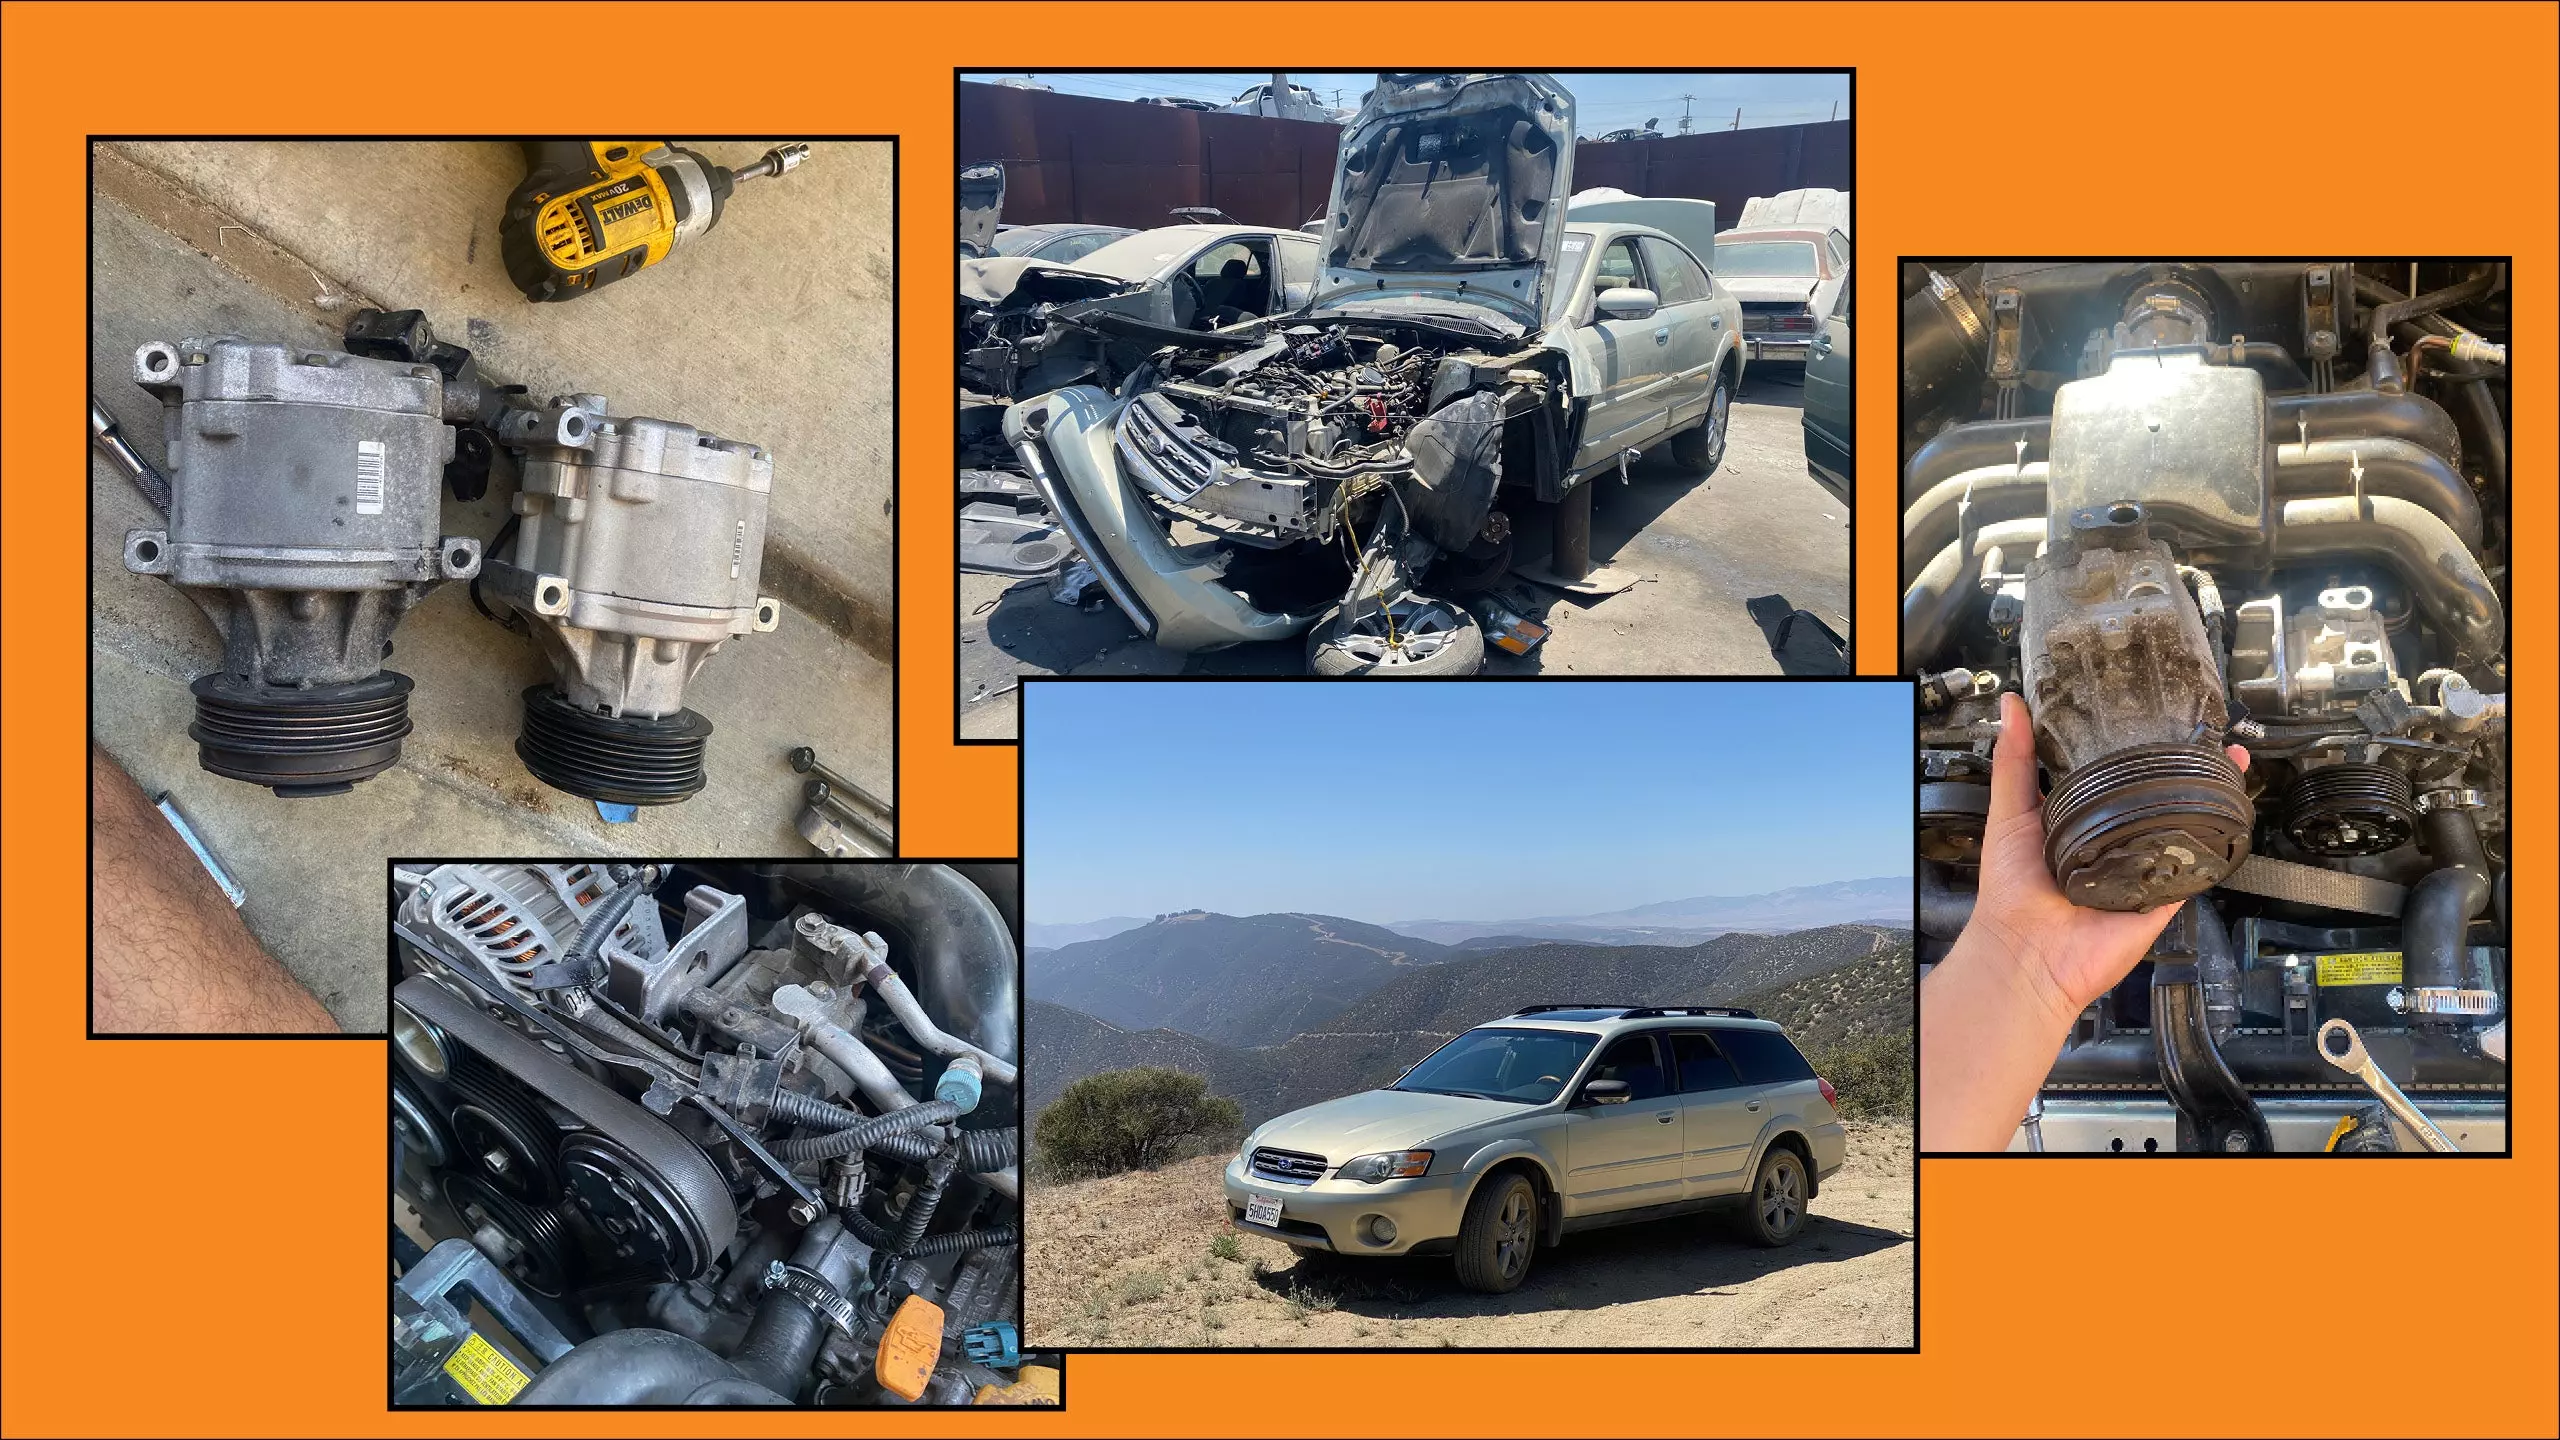
After I got a freshly redone Outback engine snugly into my station wagon, tested, sorted, and took the car on some mountain trails… the lack of air conditioning was becoming a real point of concern for me. Temperatures have been swinging almost schizophrenically the past few weeks in SoCal, but are now steadily rising. Windows-down motoring is fun and all, but once that fresh breeze runs out above 90 degrees, you want AC. Often, an air conditioning repair can end up being very expensive (don’t listen to a used car slinger promising it “just needs a recharge”) so I decided to try and do it myself.
I started by doing the thing most normal people do: Buy that can of AC repair stuff at the auto parts store. I figured that either way I’d be getting the pressure gauge and some kind of reading on the issue, even if the canned refrigerant couldn’t help me.
These recharge packs are extremely easy to use once you have one. Just twist the gauge off to removing the shipping spacer thing, screw it back on, locate the low-pressure service port for your AC, twist the cap off, and lock the hose end of the gauge onto the port. You won’t need to screw it on, just pull back on the lock with your fingers, put it on, and release it. Test it with a gentle tug, and if it stays on, you’re all good. To find it on your own car, either look for the cap with an “L” on it, or do some quick Googling for cars with non-labeled caps.
You should see a pressure reading, usually in psi, on the gauge. Handily, most come with a general guideline of what sort of pressure you should be seeing; usually in the 50 psi range. The Outback read at 120 psi, which isn’t dangerous to my well-being but indicates a real issue with the AC. I suspected a bad compressor since mine was noisy. What can happen with a bad AC compressor is that its internal seals fail and leak pressure through the compressor, and don’t allow the compressor to compress the refrigerant. So the high side pressure, usually above 100 psi, leaks into the low side, without the compressor equalizing things, as I understand it.
This is the part where it gets expensive for most people. Generally, an AC shop is going to take you to the cleaners, largely because AC parts tend to be exorbitantly expensive. It’s specialized labor that takes expensive machines to do safely and quickly. I devised a plan where I’d go to a local AC shop, and pay them for diagnosis and R-134a (refrigerant) evacuation, so I could remove the AC compressor and lines safely at home.
I paid a place $170 for the diagnosis and evacuation, and I was told that, yes, I did indeed need a new compressor. First challenge done! The next challenge was finding a compressor at all for the esoteric and rare 3.0-liter flat-six in my Outback, which was only sold in the U.S. in limited numbers from 2005-2009. NAPA, and most other parts websites, listed the 3.0 compressor as a different part number to the rest of the Subaru lineup, and costing anywhere from $450-$900, with the only readily available ones being the $900 ones. Yikes.
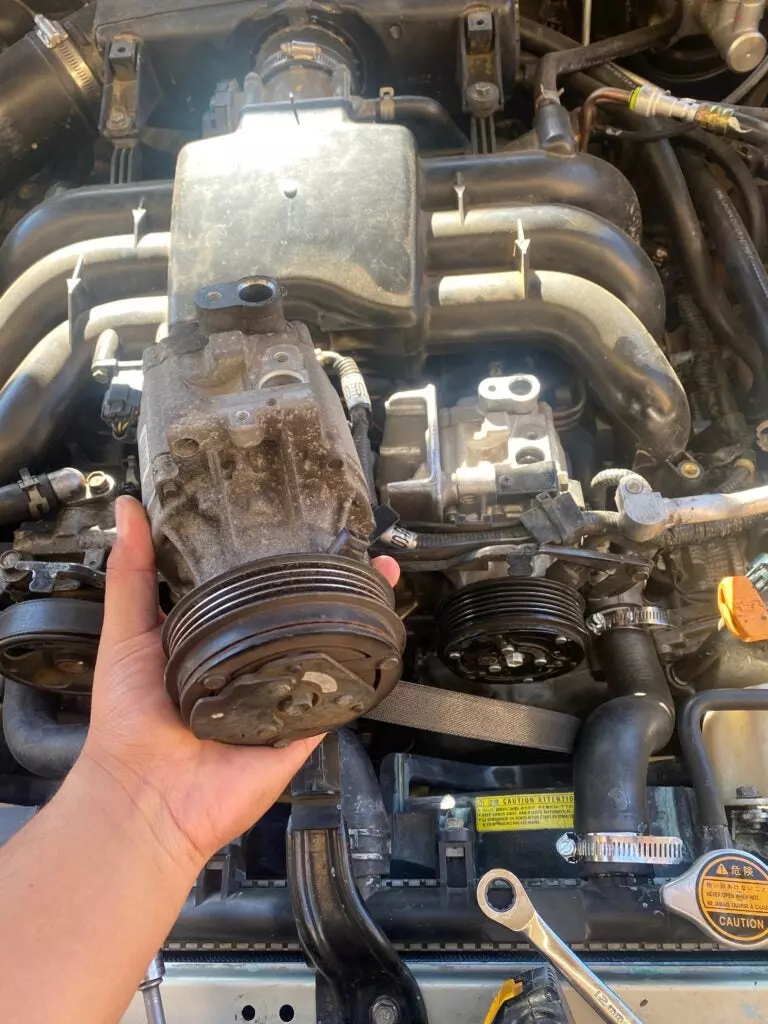
I did some digging and tried my hand at some ingenuity: I started looking at compressors for the 2.5i and 2.5XT engines, which were shared with the 2008+ Legacy 2.5GT. I remembered from my former 2008 2.5GT Spec.B, that it used the newer generation of smaller Denso AC compressor. I took to eBay, and found a part from a 2006 2.5i Outback that looked mostly suitable for $60, a gamble I was willing to take. It was local to me, so I went by and grabbed it.
I found a jolly lad who lived on a decent bit of land who ran a dismantling business through his garage and side yard. Cool guy. I compared the compressors at his place and found some differences, but nothing I couldn’t cobble together from the two compressors. Namely, the pulley was different, and the front cover was slightly different; the 3.0R compressor had a magnetic speed sensor where the 2.5i had a blank bit of metal. I earmarked the next morning for a quick teardown and shade tree engineering.
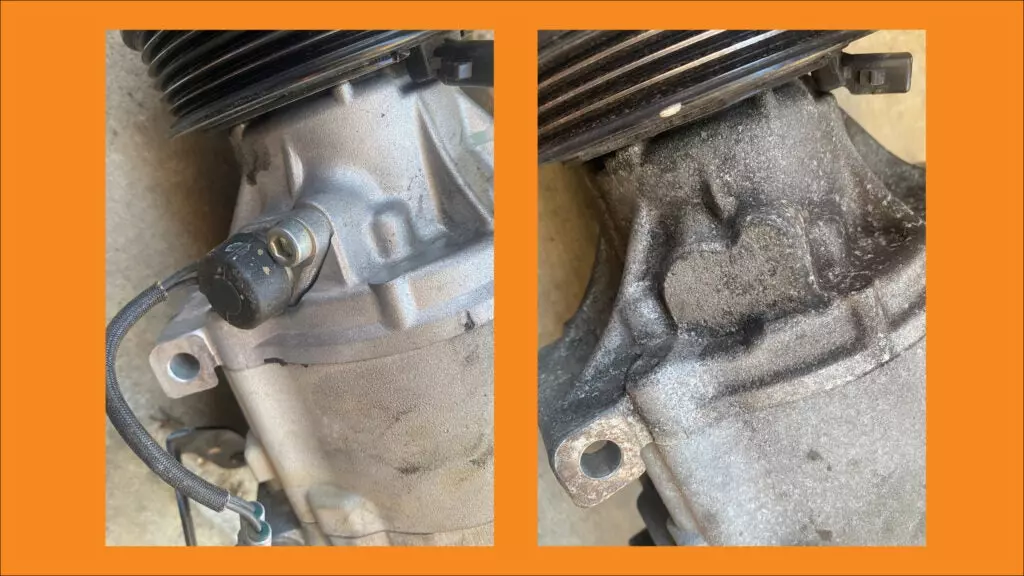
I got the compressor out of the Outback in 15 minutes, and laid the new one and old one next to each other, noting no more differences than the ones I mentioned earlier. I came up with a battle plan, which ended up being more involved than I thought: I’d have to split the compressors to get at the front cover. Being OK with the Outback being down for a day, and having one final Hail Mary with a 3.0R Outback junkyard car 30 miles away, I tore into them both.
It was easy, just four 8mm long bolts, and the case readily came apart. I did the 3.0R compressor first and found that it had zero seals inside, besides the main case O-ring. Strange. I also quickly removed the pulleys just in case some more mix-and-match had to happen, easily done with the removal of a 10mm bolt and two C-clips. Now I had pieces to put together, simple enough.
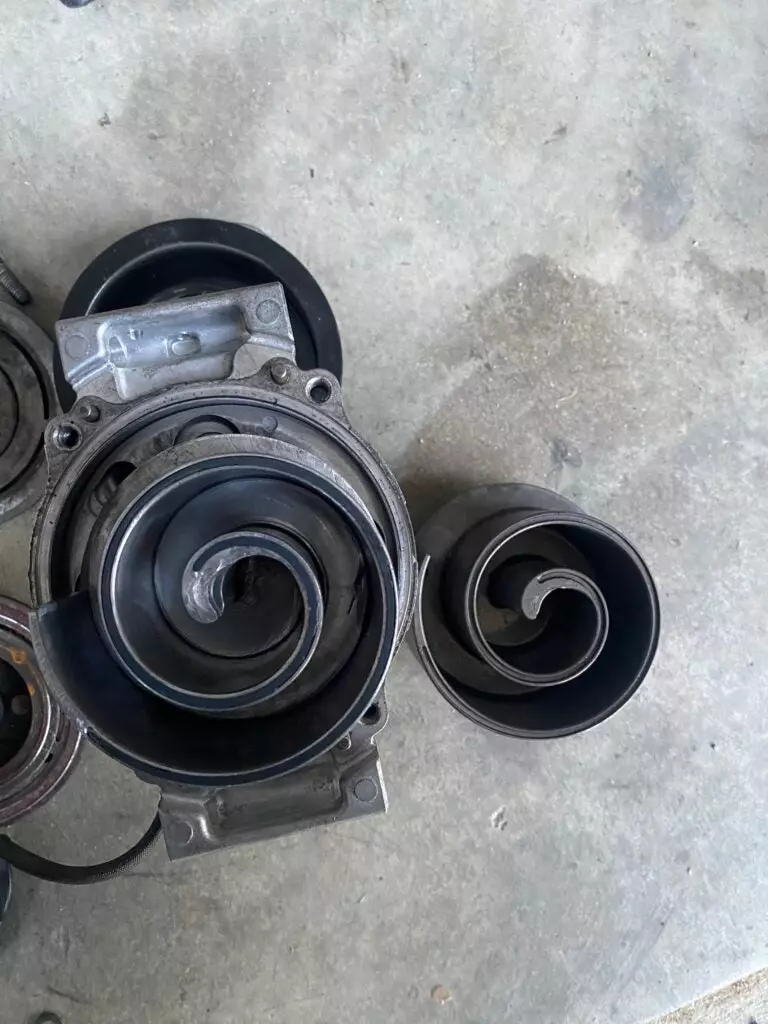
No, not simple. Nothing came back together correctly. The two compressors were identical visually but… did not come back together easily. I tried keeping the seals in place and swapping the case half and compressor rotor to bad luck, it ended up damaging the rotor. I then swapped the rotor seal to the good rotor and swapped the good case seal to the 3.0R case. It came together fine, but wouldn’t rotate fully. I ended up with two inexplicably damaged cases. It was time for Plan C: Junkyard.
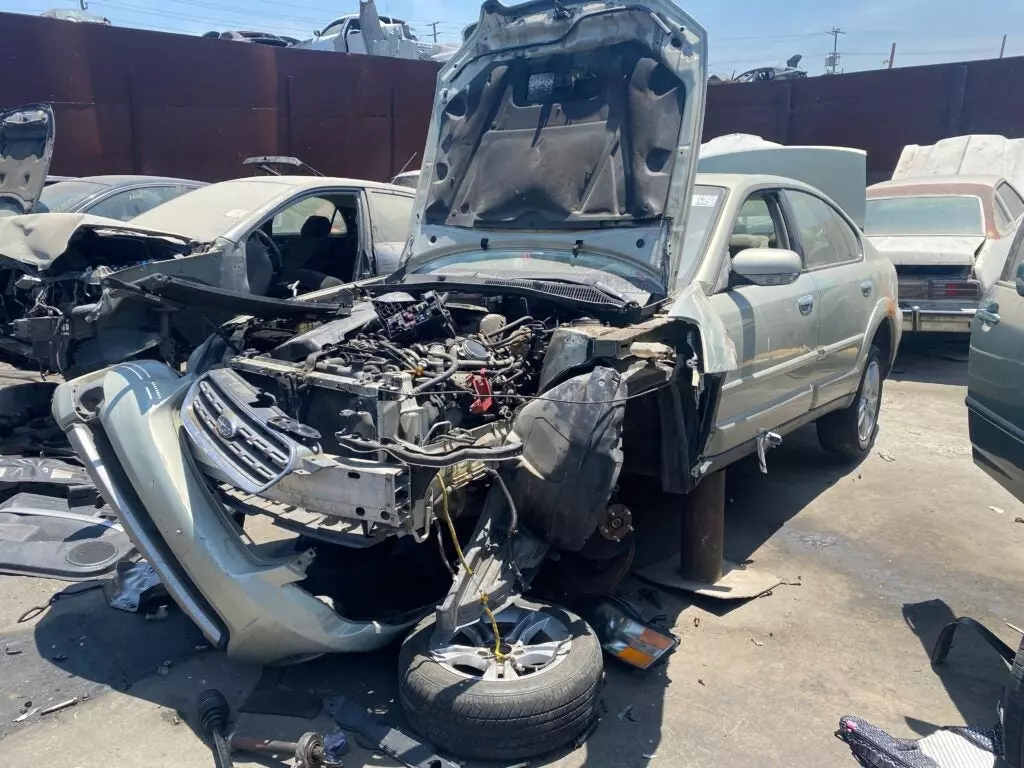
I headed down to Sun Valley after breakfast to my favorite junkyard with excellent parking lot oranges (you’ll always find somebody slinging fruits at boneyard parking lots in SoCal). It also had the only 3.0R Outback sedan I have ever seen, which pained me as I tore it apart for its compressor. It was on the lot for two weeks, and though it looked picked over a bit, it was shockingly complete for having spent that much time in the yard. I got what I needed from the poor, beaten down, rare bird of a Subaru, paid another $60 to the junkyard for the compressor, and headed home to finish the job up.
From there, it was simple. I decided to not tear the compressor apart to inspect, and it looked kinda decent anyways. I had it installed in 15 minutes, and the Outback was ready for a recharge!
The next morning I dropped it off first thing, and it was ready in an hour. The service advisor did warn me that the compressor was weak and he wasn’t sure how long it would last, but it did blow very cold. I took it around town for a day in deep chilled comfort as we logged our first 100-degree day.
All was well for hours until I decided to try offroading on the way home. As I climbed a steep dirt hill near my house, the temperature gauge climbed sympathetically.
Here we go again.
