A good quality tool belt is one of the most important tools you can have in your arsenal if you’re looking to do some framing work. As its name suggests, framing is the process of putting pieces together to provide a framework or skeleton to a structure you plan on building. The framing process can be done using natural or engineered wood, or steel that’s specifically designed for building. No matter the material you’re using or the purpose of the building you’re putting up, there are essential tools you should have in your framing tool belt.
What to Look for in a Tool Belt
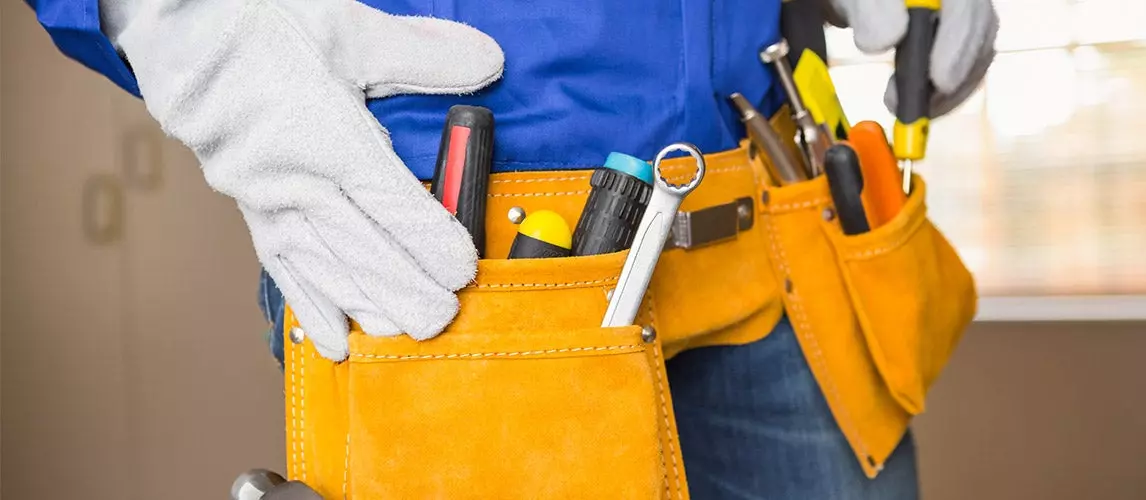
When looking for a tool belt for your framing jobs, try to get one that’s padded to keep you comfortable throughout the day despite the heavy weight of the tools you bring. Look for one with Yoke-style suspenders as well since you can put these over your shoulders as easily as you can take them off. The best tool belt is the one that has a lot of pockets and storage space, whether to keep your tools as we’ve mentioned, or little knick knacks such as nails, screws, and other small objects.
Related Post: Best Tool Belts
The Tools to Bring
Now that we’ve talked about what you should look for in a framing tool belt, let’s enumerate the tools you’re going to want to have in there. Some of these tools are essential, meaning they’re the first ones you’ll probably think of and are extremely necessary, while others are lesser known and serve to make the job easier. You don’t need to get all of the tools listed below, as we understand that a lot of you have differing budgets. If you must get a certain tool, make sure the ones you get are made of high quality materials. However, you should also avoid overspending on your tools. You shouldn’t spend hundreds of dollars on a tool with $30 alternatives.
The first tool you’re going to need for framing is a hammer. This is the first tool we recommend getting no matter what job you do for that matter. For framing jobs specifically, you’d want to get a hammer weighing 20 to 24 ounces and with a straight claw. Also, go for hammers that have handles which are fashioned out of fiberglass or wood. These hammers can last longer in most cases. They also offer more shock absorption as opposed to the steel-shanked variety.
While the claw of your hammer does a good enough job of removing nails from various surfaces, you may also want to get a tool known as a cat’s paw to do this and a whole lot more. Aside from pulling out nails, this tool is also useful for trimming or prying away molding from a wall, especially in spots near an electrical source. It would be good if you find one that has a nail digger on both sides, with one being straight and the other one being curved. Having such variety can help you remove nails from almost any surface, if not all of them.
Aside from a hammer and cat’s paw, you’ll want to get a level as well if you want to do a good framing job. If you want whatever you’re building to stand the test of time, you want the horizontal and vertical lines to be perfectly level. We recommend getting more than one level to ensure that you get the measurements just right. The slightest of changes from one level to another can make all the difference. If you can afford them, try to get a laser level, which makes use of both the bubble system as well as an extremely accurate laser.
Another measurement device you’re going to want to have in your framing tool belt is a square. This helps ensure that you get the perfect right angles. You can also use them to mark and draw straight lines as well as to design layouts. There are two types of square, namely the carpenter and speed squares. The speed square is smaller and triangular in shape, while the carpenter square is larger and shaped like the letter “L.” Wooden squares may be cheaper, but you should get stainless steel or aluminum ones instead if you have the funds.
Similarly, you need to have a tape measure in your framing tool belt. Get one that’s a minimum of 25 feet in length. You can also get ones the are 30 or 33 feet long if you need the extra length. Don’t get a tape measure that’s too thin as well. Get one with a blade that’s at least one inch in width. It would also be helpful if your tape measure has measurements in both the metric and imperial systems. This removes the need for head scratching conversion equations. The belt clip should be easily accessible as well.
For trimming purposes, you’ll need a utility knife as well as a chisel. Aside from trimming; however, these tools have vastly differing purposes. A utility knife can be used to cut open bags or to sharpen your carpenter’s pencil – a tool we’ll talk more about later. It’s a good idea to bring replacement blades with you in your framing tool belt. On the other hand, a chisel can be used for gouging, scraping, and prying. Try to get a chisel that’s at least an inch wide. A wooden handle is preferable since they balance out the weight of the tool quite well.
If you’re looking to make markings on different surfaces as you frame, we recommend getting a carpenter’s pencil. A regular pencil just won’t do the trick in most cases. The flat shape of the lead of a carpenter’s pencil can help you make markings on rough and irregular surfaces. Bring a couple of these with you at all times just in case one of them gets lost on the job. You can easily sharpen these with a sharp utility knife as we’ve mentioned previously.
Those are just a few of the things we recommend you pack in your framing tool belt. Of course, you can bring more or less depending on the demands of the job you’re doing.
Sources:
- The Tools Every Framing Contractor Needs – Steve Allen Construction Inc.
- Framing tools recommended by a framing specialist – Pro Construction Guide